Holiday Felted Basket: Project Idea + Felting Tutorial
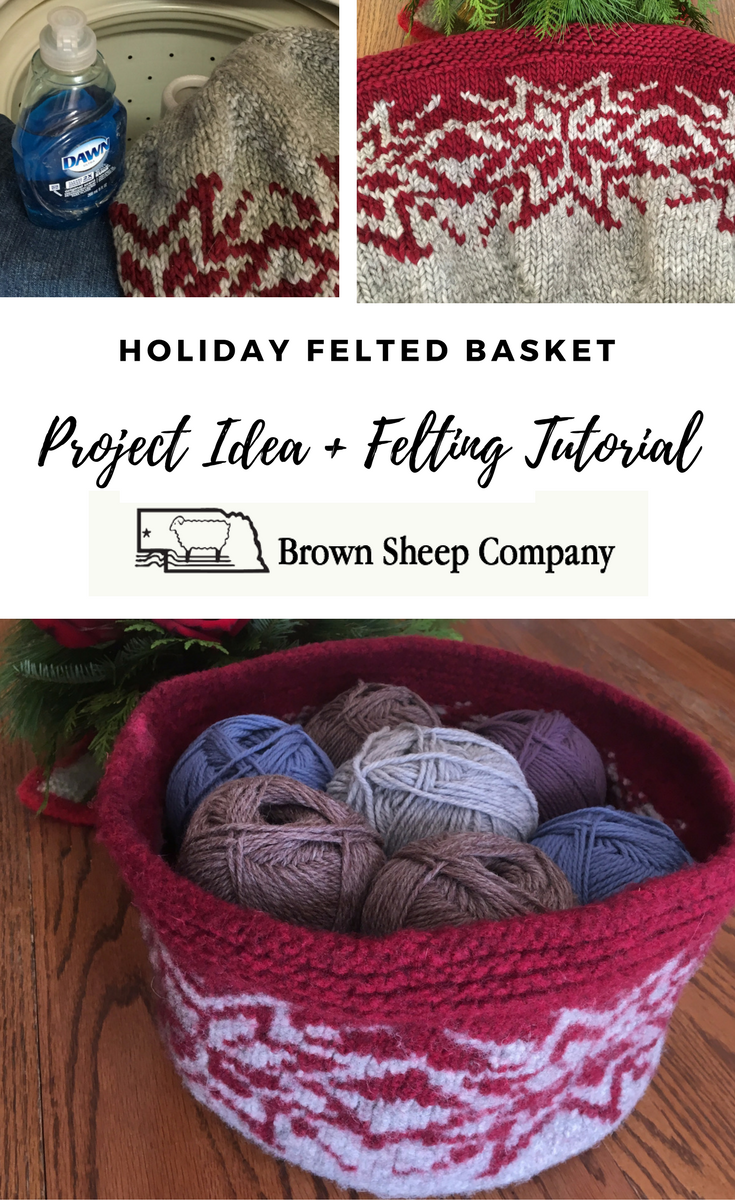
Felting is a great choice if you’re looking for a quick and easy project. The magical thing about felting is that your knitting doesn’t have to be perfect – once it’s felted, everything blends together and any “flaws” are disguised! Plus, felting is usually done with thick yarn and big needles.
A knitting friend showed me this free pattern by Drops Design for a Nordic felted basket.
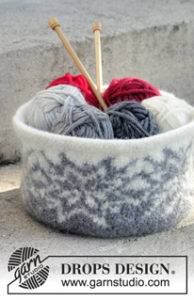 It’s an excellent combination of beautiful and functional, and works for home décor throughout the winter—not just for Christmas decoration.
I chose to use Lanaloft Bulky for this project (colors are LL33 Manor Gray and LL62 Choke Cherry). Lamb’s Pride Bulky or Burly Spun would also be great choices. The yarn needs to be made of natural, non-superwash wool. I love knitting stranded color work, but you could easily make this basket in a solid color or hand painted yarn if you didn’t want to incorporate the color work pattern.
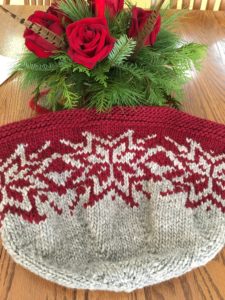 If you haven’t tried felting before, it’s really very easy. The basic recipe: felting = heat + agitation.
The first necessity is to find a top-loading washing machine—you may have to head to a local laundromat or borrow a friend’s machine if you have a front-loader at home.
Secondly, the water needs to be very hot. The hottest setting on my washing machine is very toasty—if yours is just warm, add a kettle of steaming hot water to the machine.
And third, make sure you have some Dawn dishwashing detergent on hand (I don’t have a solid reason for using Dawn over other brands of detergent, just knowledge passed down from several generations of wool yarn experts). It’s a good idea to throw in an old pair of jeans or a towel along with the item to be felted–this adds some extra friction to increase the agitation factor. Just a few small drops of Dawn are plenty!
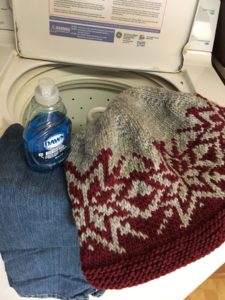 Let your machine run through a cycle and check the progress. The heat, agitation and detergent cause the wool fibers to lose their neat and tidy arrangement and start to criss-cross each other—the barbs on the wool then grab on to each other and the fabric shrinks in. After one round, the knit stitches have started to blend together.
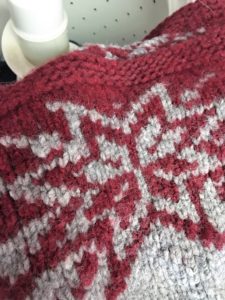 Continue allowing the machine to run, checking after each cycle until your project has felted and shrunk as much as you’d like. The finished result should be a sturdy fabric where the individual stitches are no longer defined.
The project can be shaped while it’s still damp—I chose to stuff mine with a bunch of old towels and let it dry upright. Just remember that the felting process is irreversible, so your project will never return to its original non-felted form. On the plus side, the finished felted product is pretty much indestructible and will last forever!
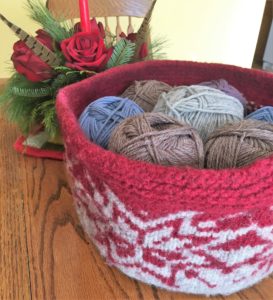 This felted basket would make a great gift for any crafter to keep their supplies in. It would also be a perfect basket to serve dinner rolls or bread in—the wool would keep the bread nice and warm. Fair warning: felting is rather addictive! It’s fun to experiment with the way colors will blend and change. We hope you’ll give it a try!


Pingback: New Year's Resolutions for Crafters - Brown Sheep Company, Inc.