Tips for Storing Handmade Knits

When winter retreats, knitters and crocheters should shift focus towards the best methods for storing handmade knits. We spent a lot of time, energy and fiber crafting our sweaters, hats, scarves, and mittens. Unlike your regular tops and t-shirts, handmade knits require a special level of care to prolong their lifespan and keep them in the best shape.
Storing handmade knits isn’t difficult, but there are a few steps to take before hibernating sweaters for the winter. Keep reading for our top tips for storing handmade knits at the end of the winter season.
Clean Your Handmade Knits

Thank the properties of wool for one of our favorite perks of handmade knits. Wool is naturally antibacterial and antifungal, courtesy of lanolin, which acts as a barrier. That means you can wear handmade knits several times before having to wash them. Sweat (made of bacteria) can’t gain a foothold in your wool sweater or socks, so you can wear them multiple times without smelling bad!
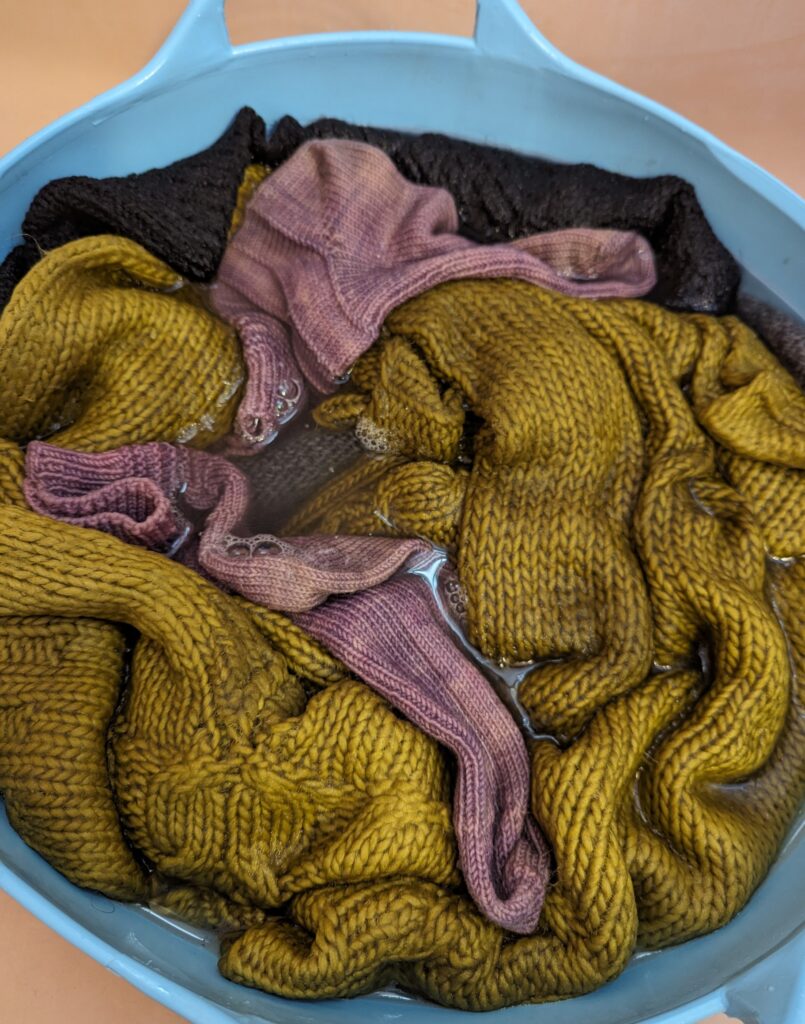
On the flip side, after wearing your favorite sweater multiple times this season, it’s really important to wash it before you put it away for the winter. Depending on how active you are, you may only need to clean your handknits once every season. Make it at the end of the season, before you put them away. Not only will this ensure your handknits are fresh and ready to be worn next winter, but it will also further protect them from bugs. Many bugs are attracted to dirt, body oil, skin cells and other organic residues, so cleaning your handknits will further protect them from bugs!
Wondering how to properly wash your sweaters? Check out our blog on refreshing handknits.
Sort Your Handmade Knits

To make things easier next season, sort your knits now before storing them. Separate by type, grouping accessories together in one place and sweaters together in another. You can take it a step further and create more specific groupings: hats, cowls and scarves, mittens and fingerless mitts, and sweaters. If you plan to store everything together in one drawer, chest, or closet, consider purchasing clothing storage bags for each type so it’s easy to locate specific items.
Dedicate Space for Handmade Knits

Creating a dedicated space to store handknits acknowledges that they require different care than your other clothing. We’ve all heard stories or experienced the horror of discovering a handknit item thoroughly chewed through by a bug! It’s important to protect handknit clothing, and there are a few methods to explore.
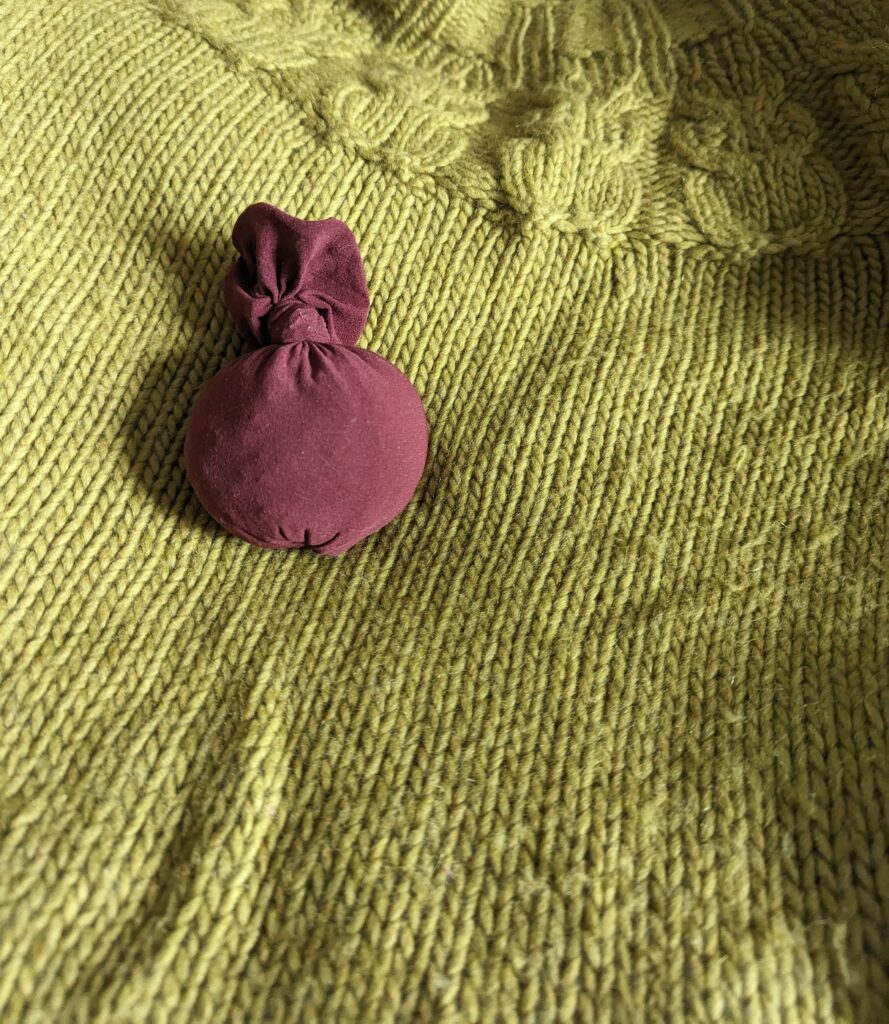
Firstly, handknits should not be hung, but rather stored flat, as shown above. Hanging sweaters can cause the fabric to stretch and deform the shape of your handknit. Fold your handknits and store flat.
Many crafters keep their handknits in cedar chests. Cedar repels bugs, making it a fantastic choice for storing handknits. Large, clear plastic containers, available at most hardware stores, are another good choice. 2-gallon Ziploc bags provide a cheaper option for sweaters, and 1-gallon Ziploc bags work well for smaller accessories. Space-saver vacuum bags also work well if you’re tight on space. If you choose plastic bags for storage, consider also purchasing a larger container to keep all your handknits together in one place. Just remember to keep your containers in a cool, dark, dry place to protect your handknits from sun, heat, and moisture.
The most important thing to remember with plastic storage is that knits do need to breathe, so plan on airing things out when winter comes around again, even if you don’t plan to wear your knits.
Create Sachets for Handmade Knits
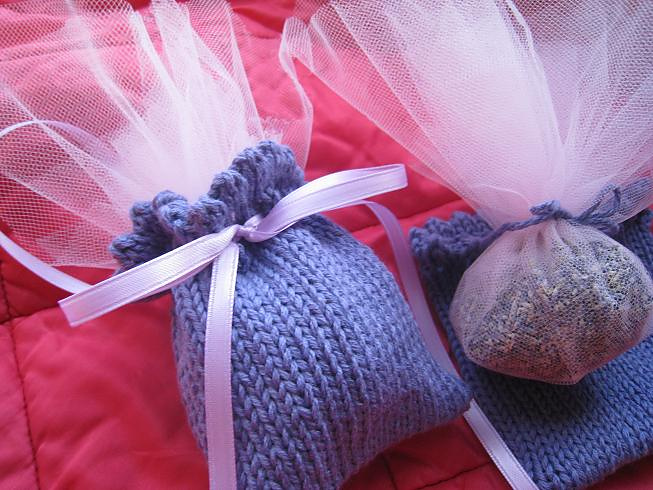
As mentioned, bugs are a real concern when it comes to storing handknits. If you don’t have access to a cedar chest, consider purchasing cedar bars or blocks. You can also choose to make sachets of cedar or dried lavender to store with your clothes. Sachets are incredibly easy to make—just purchase small cotton bags and dried herbs to stuff them with. You can also knit a sachet like the one above (knit with Cotton Fleece) and stuff it with dried lavender. One of our favorite inexpensive hacks for sachets involves materials you may already own…
Do you have stockings that have seen better days? First, cut above the foot approximately 4″. Then, continue cutting segments measuring 4″-5″ each. Tie off one end of each segment, turn them inside out so the tied end is on the inside, then fill with dried lavendar. Finally, tie off the open end. You now have your own homemade lavender sachets from recycled stockings!

We hope these tips help you properly prepare your handmade knits for storage this spring and summer. Did we forget one of your favorite tips? Let us know!
Like this post? Pin it for later!


