How to Knit a Gauge Swatch

Do you knit a gauge swatch? Knitters tend to fall into two camps: those who knit a gauge swatch and those who don’t bother. If you want to start an argument among knitters, make the following declarative statement: “I never knit a gauge swatch!”
Why should I knit a gauge swatch?
There’s a very good reason knitters are so passionate about their gauge swatches: ill-fitting knits. No one wants to knit an entire sweater only to find out the arms are too short. Or, the oversized pullover they’ve worked on for a month+ fits like a crop top. If you’re knitting something that doesn’t have to fit, like a blanket or a scarf or even a shawl, you can get away with avoiding a gauge swatch. For anything else, heed the warning: knit a gauge swatch or suffer potential regret and much frogging later!
How to knit a gauge swatch
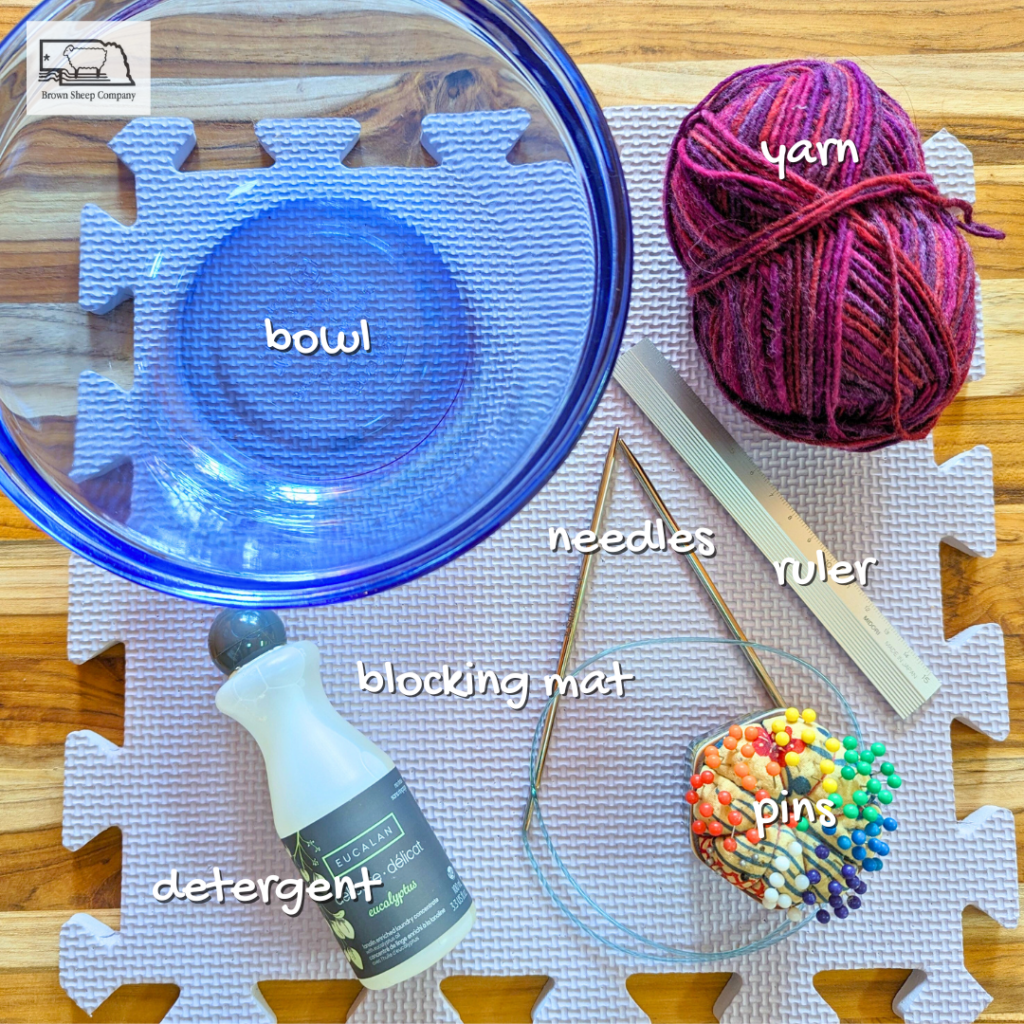
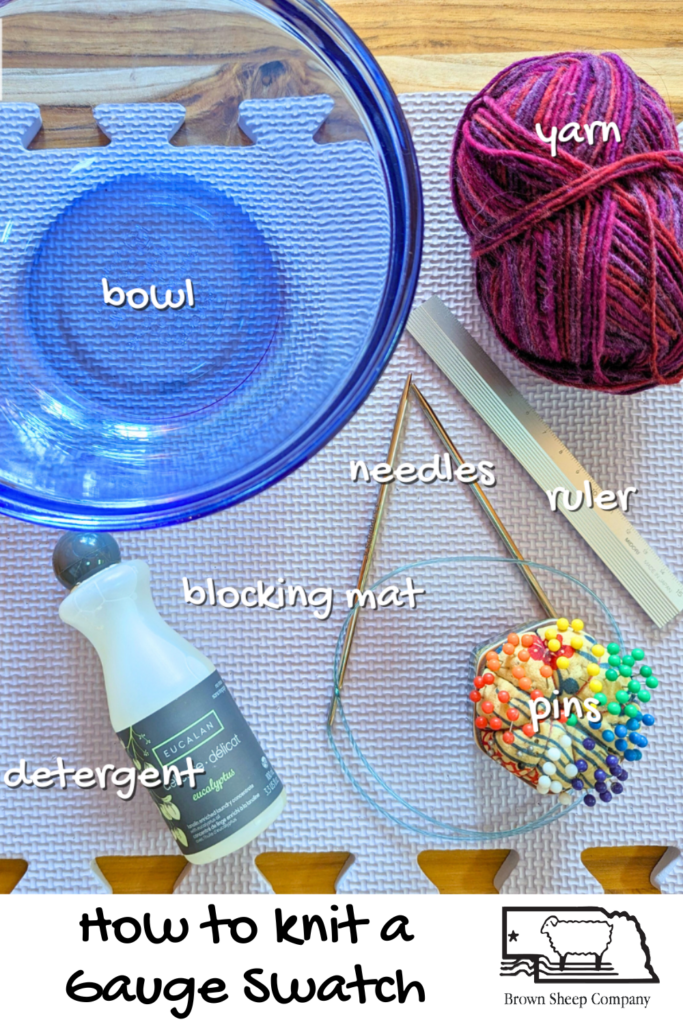
To get started knitting a gauge swatch, you’ll need the right materials. First, gather the following:
- Yarn (at the weight listed in your pattern)
- Needles (at the size pattern and yarn call for)
- Pins
- Blocking board (a thick carpet or mattress will do in a pinch)
- Measuring tape or ruler
- Small bowl
- Detergent (the same kind you will use to wash your hand knit)
Once you’ve gathered all your swatch materials, it’s time to start knitting!
Step 1 – Cast on!
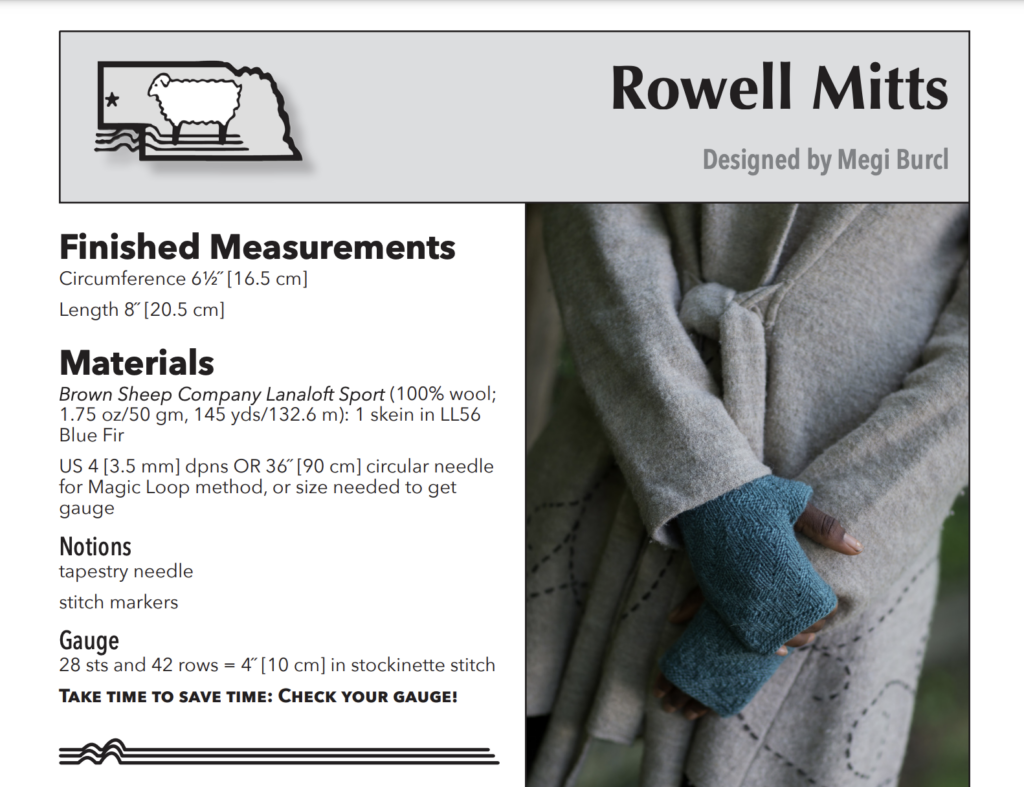
For the purposes of demonstration, I’ll use the Rowell Mitts in Lanaloft Sport. They’re free on the Brown Sheep website, so if you like them, you can download them here. I have a little bit of Lanaloft Sport Hand Painted leftover from the Brown Sheep Spring 2022 MKAL, so it’s perfect!
(Don’t you love how we remind you to check your gauge in the pattern? )
According to the pattern, a knit swatch of 28 stitches and 42 rows should give me 4″ of fabric in stockinette stitch. I tend to be a tight knitter, but I’m going to try to use the recommended US size 4 needles to get the gauge. If I don’t get gauge, we can dive into what you should do to try to get the recommended gauge!
The first mistake knitters make with knitting a swatch is casting on the exact number of stitches for the gauge. Edge stitches tend to be wonky, either a little loose or a little tight. And, stockinette tends to roll in on itself, which makes it really hard to take an exact measurement.
For that reason, we recommend casting on (and knitting) approximately 1.5-2 times the number of stitches and rows in the gauge. This means for the Rowell Mitts, I will cast on 50 stitches and knit for 69 rows. Here’s my math broken down:
28 sts x 1.5 = 42 sts, plus an additional 8 sts (4 for each edge) = 50 sts total
42 rows x 1.5 = 63 rows, plus an additional 6 rows (3 rows for each edge) = 69 rows total
Why the additional stitches and rows?
Because knowing stockinette tends to roll in, I will also knit a border of garter stitches on all sides. So, 3 rows of garter to start, 4 stitches in garter on either edge, and 3 rows of garter to finish. This will give me a nice border that will help my swatch lie flat.
Step 2 – Wash + block your swatch
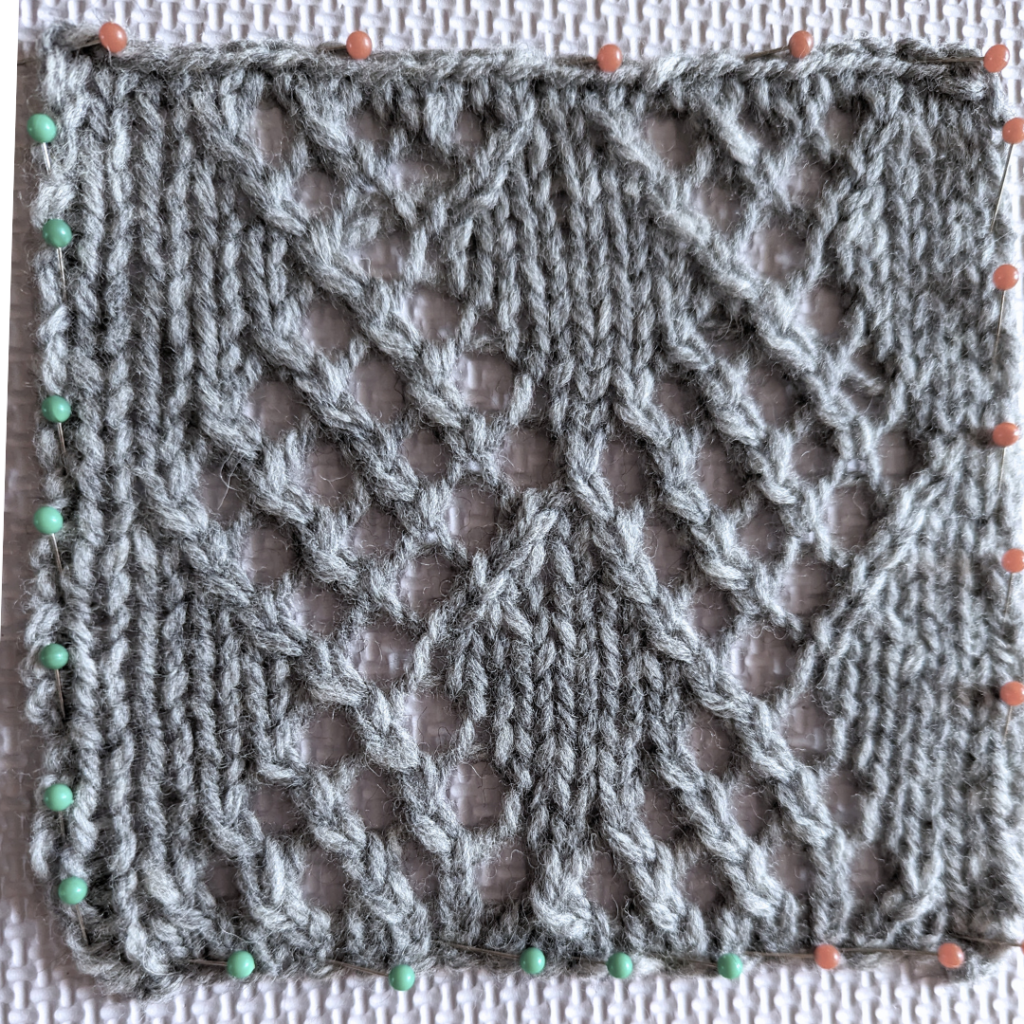
It’s very important to wash and block your swatch as you would your finished knit. Use the same detergent you would use for your knit. If you plan on “hard blocking” your knit with pins (usually reserved for lace, to open up the pattern), then hard block your swatch. Above is a swatch I created for my review of Harborside Aran. Since it was lace, you’ll notice I hard blocked with pins spaced evenly around the swatch. As you see below, it made a huge difference in the swatch!
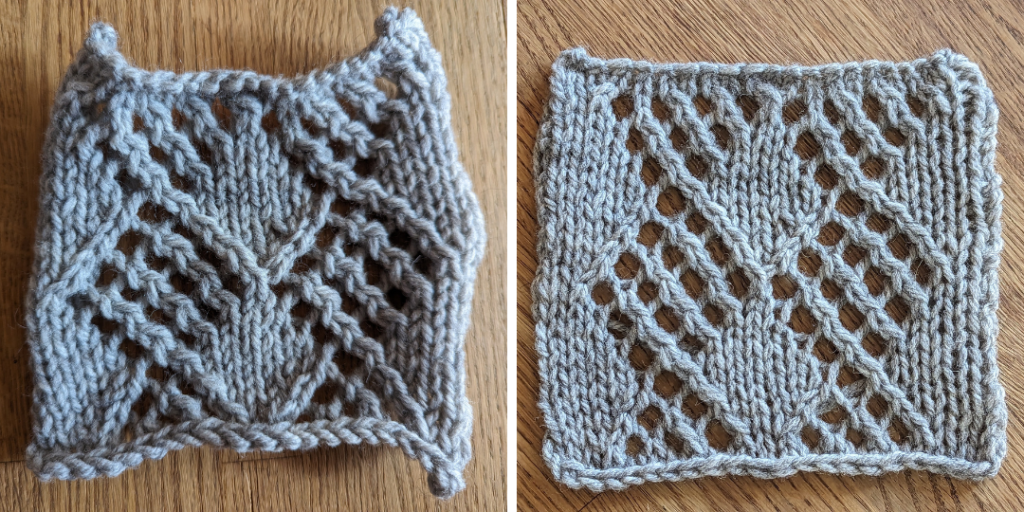
For the stockinette swatch, I don’t want to do a hard block. I don’t want to stretch out my knitting. I want my fingerless mitts to fit and the wool to hold its memory. So, no stretching or pins necessary!
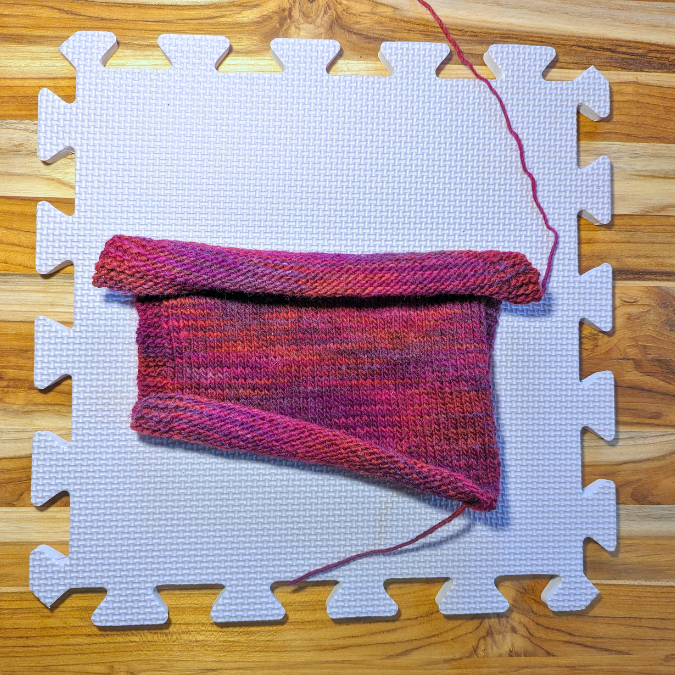
With my swatch finished, it’s time to give it a wash. You can see above it’s kind of curly! (Note: Despite more than a decade of knitting experience, I neglected to make the garter edge along the bottom long enough. It just goes to show that you never stop learning from your own mistakes! Three garter rows was not enough! I added more garter to the top, but as you can see it’s still quite curly.)
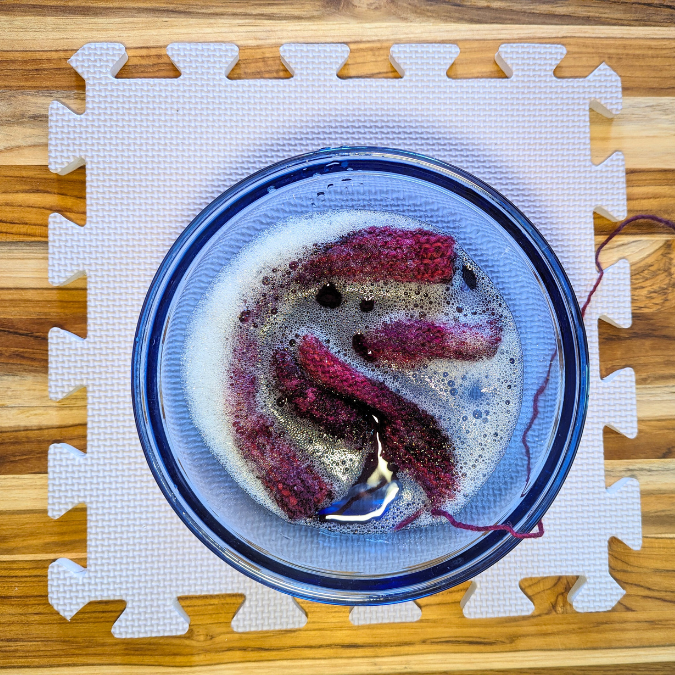
To wash the swatch, I filled my bowl with room temperature water with a tiny drop of my detergent. I want to wash my swatch exactly as I would wash my finished knit. I want the fabric to behave and react the same so there are no surprises! (below)
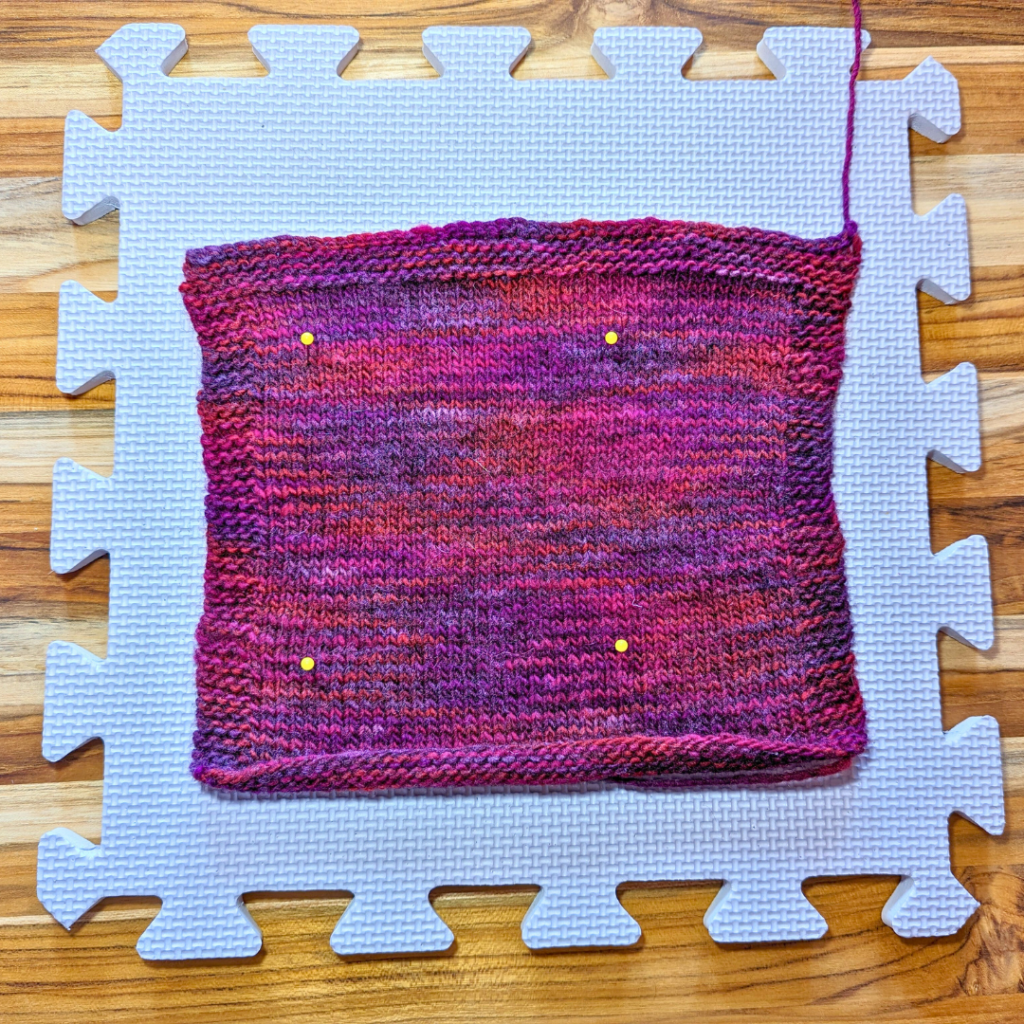
After a short, 15-minute soak, I press the water out of my swatch (gently!). Rolling it into a hand towel and pressing really helps extract the water. Then, I simply lay my swatch out on the blocking board to dry. Look how much flatter it lies after a wash (below).
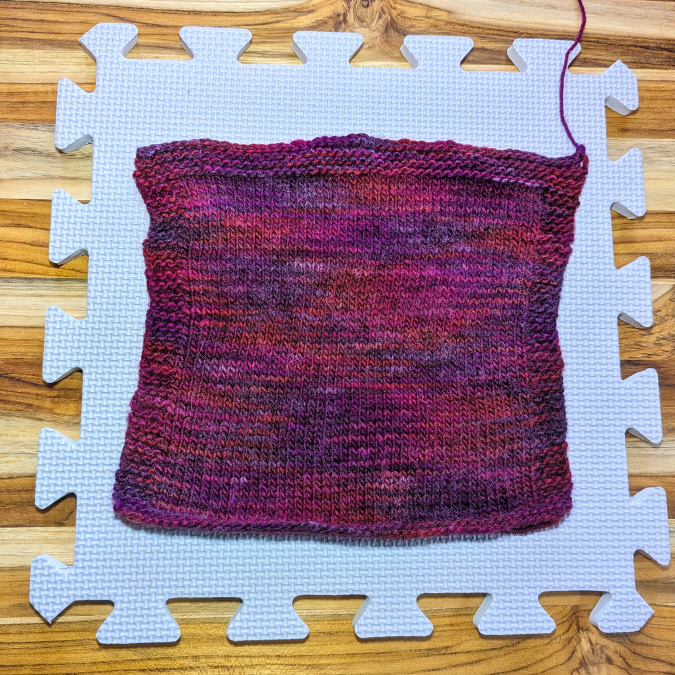
Now to wait for it to dry!
Step 3 – Measuring your swatch
Now that it’s dry, it’s time to measure my swatch. Here’s where the pins come in. (And where you also learn why we went for 1.5x the number of stitches!)
I choose a stitch that is several stitches in from the edge and place a pin. Using my hard ruler, I measure 4 inches from that stitch and place another pin (this ruler measures in cm, so I measured to 10.16). I do the same thing for rows, placing pins 4 inches above and below the first set of pins. Pins hold your swatch in place and help you measure evenly.
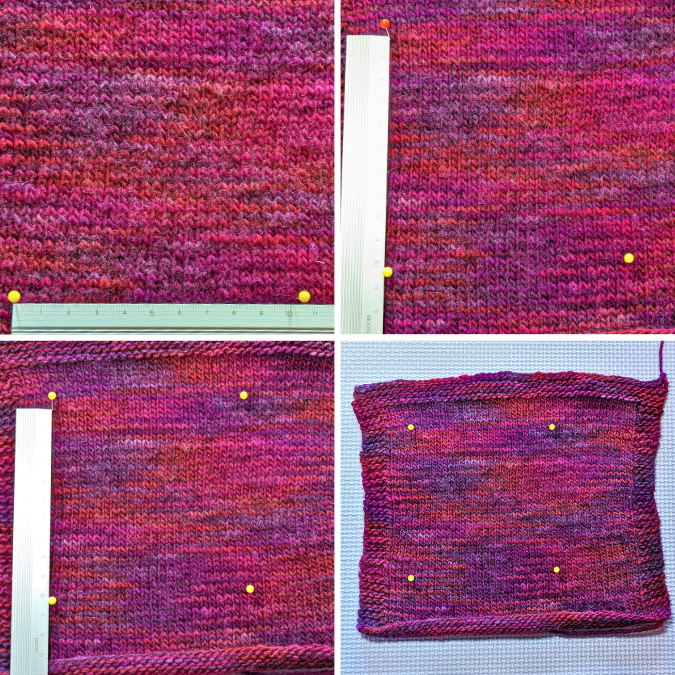
It should be apparent why we cast on 1.5x the number of stitches. You want enough room all around your swatch to account for any edge-related wonkiness. The middle group of stitches should offer the most honest representation of your gauge.
Why the hard ruler?
This is a personal preference, but I like a hard ruler. A hard ruler won’t flip or stretch. It can be hard to take a stable, even measurement with a tape measure. Again, this is personal preference. If all you have is a tape measure, that’s fine!
Now, take your measurements! According to my swatch, I have a gauge of 24 sts x 36 rows = 4″. I like to move the pins around and take measurements in different areas of the swatch, just in case.
Step 4 – What if I don’t get the right gauge?
I’m surprised that I knit below gauge, as I consider myself a tight knitter. But, the fabric definitely bloomed and relaxed after I washed it so it’s not a huge surprise.
If you find your stitch count is below gauge (like mine! So, 24/26 sts = 4″ instead of 28 sts = 4″), try a smaller needle. You may be a loose knitter!
If you find your stitch count is above gauge (so, 30 sts = 4″ instead of 28 sts = 4″), try a larger needle. You may be a tight knitter!
Repeat the steps above to make another swatch with your new needle size and check your gauge!
In my case, I got below gauge so I will need to try US size 3 needles. I might also try switching to wood or plastic needles as they are a bit grippier and can help me tighten up my gauge.
We hope this post helps you master the gauge swatch. And, encourages you to always make a gauge swatch!
Like this post? Pin it for later!