Choose the Perfect Yarn and Needles for Any Pattern
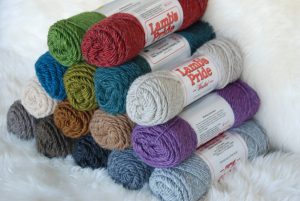
One of my favorite things about Brown Sheep yarn is the versatility of all the different weights and fibers. When knitters walk into our mill yarn shop with a pattern in hand, we are always able to find a Brown Sheep yarn that can “sub in” for any yarn the pattern may be written for. From lace weight up to super bulky, we’ve got you covered with a Nebraska-made yarn!
 Maybe you’re dying to join our fall Sweater KAL – but you aren’t sure how to swap in a Brown Sheep yarn for your favorite sweater pattern. This post is for you!
Here are some basics on what to look for to make a yarn swap decision:
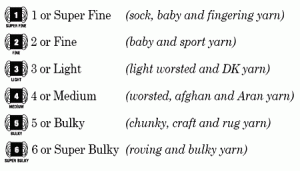
Standard Yarn Weight: This is the little ball of yarn symbol with a number inside. This is the best way to figure out which weight of yarn is used in the pattern. This is normally listed at the beginning of a pattern along with the needle size, etc. Here is what these symbols look like (from the Craft YarnCouncil):
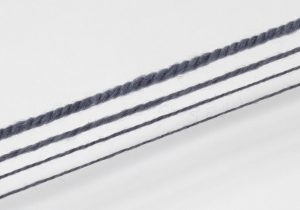
Plies: Don’t get hung up on the number of plies in the yarn listed. Plying has more to do with the texture and strength of a yarn than its weight. For example, our Nature Spun yarn is made in a 3-ply fingering, 3-ply sport, 3-ply worsted, and 3- ply chunky weight. The thickness of each ply is different for each weight. It’s much better to go by the standard yarn weight – choose a single vs. plied yarn based on your personal preference!
Fiber content: It’s ok to swap for a different kind of fiber than what’s used in your pattern, but do think about how it will affect the finished project. If your project is a lightweight, airy garment meant for spring – choose a cool fiber blend such as cotton/wool in Cotton Fleece yarn. If the pattern has a lot of cables or color work – choose a wool yarn so that it has enough memory to hold its shape. Also think about washing and care for the finished product – are you ok with hand washing? Or is this a gift for someone who will surely throw everything into the same load in the washing machine? Take this into consideration and maybe choose a superwash wool or a cotton blend yarn, which requires less special care.
 Amount needed: When deciding how much yarn to buy, always go by the total yardage – rather than the number of skeins or the weight (ex. ounces) of each skein as listed in the pattern. This is the most accurate estimate since yarns have different densities. When in doubt, grab an extra skein – you never know if the same dye lot will be available if you run out!
Time to Gauge!!!
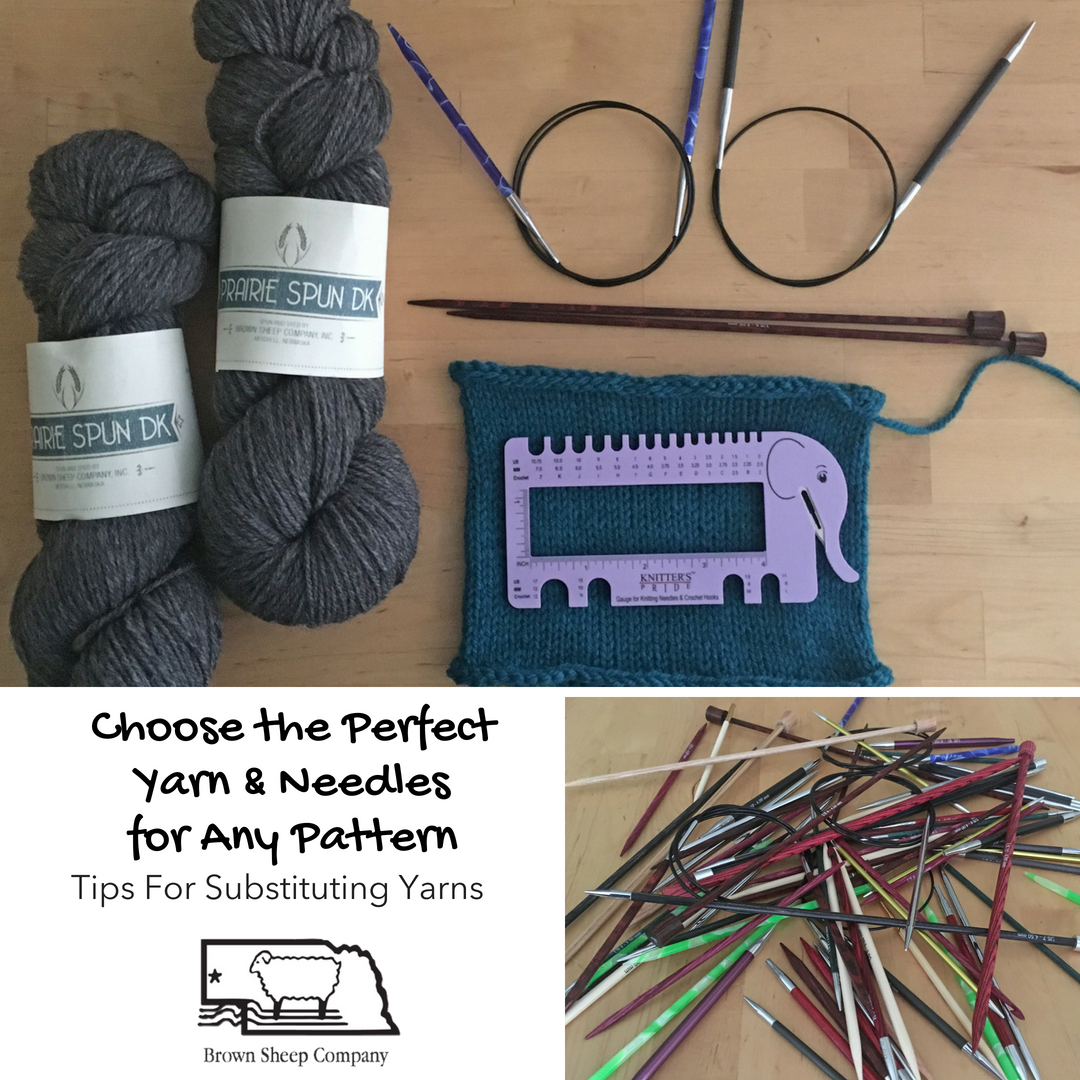
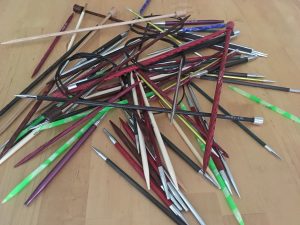
Once you’ve selected a yarn, it’s time to make a gauge switch and decide on your needle size. No matter how excited you are to start your project, don’t skip this step – even if you are using the exact yarn and needle size listed in the pattern. Every combination of knitter and knitting needles will have a unique gauge! Yep, round vs. square needles and metal vs. bamboo needles will probably have a slightly different gauge. So swatch with the exact needles you plan to use for your project.
Make a swatch: Check to see if your pattern’s gauge is listed in stockinette or a pattern stitch. It’s best to make at least a 4 inch by 4 inch square surrounded by a border of garter stitch to keep the swatch from rolling up.
Block your swatch: Your finished project will be blocked, so a blocked swatch will give you the most accurate measurements. This is especially important for any sort of cabled or textured pattern that will relax or stretch out after blocking.
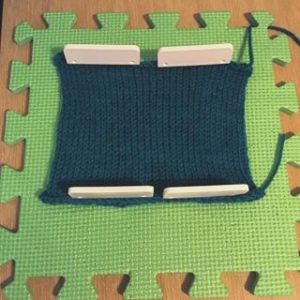
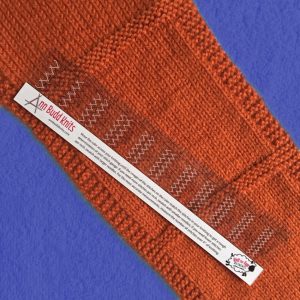
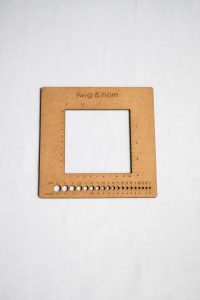
Count your stitches and rows: It’s best to count the total number of stitches in 4 inches, even if your pattern lists the gauge in stitches per one inch. It’s amazing how much difference a little fraction of a stitch (per inch) can make over an entire project. I like to use the Handy Gauge Ruler from Ann Budd Knits because it has little outlines of stitches to match up with your knit stitches. Another good option is a square-shaped ruler with measurements on the inside such as this one from Twig & Horn.
 Adjust needle size: Don’t be tempted to say your gauge is “close enough”. If you don’t get the right stitch count, adjust your needle size and try another swatch! If there were too many stitches per inch (or per 4 inches), go up a needle size. If there were too few stitches, go down a needle size. Keep trying swatches until you get the right count!
Gauging may seem like a pain, but if you think about how many hours you will put into knitting a project – it’s really just a drop in the bucket! It’s worth it to have the finished project turn out the size you want.
Like this post? Pin it!